Thursday, March 26, 2015

Farmcopter Build: Part 2


Now on to Part 2: the parts list and build.

In post number 1 I listed my goals for the quadcopter and what I wanted to get out of the build. This is very important as this will determine what parts you buy and there are infinite options from which to choose.

In this post I will detail all of the parts of the quadcopter and how to assemble them.


Here are the parts I decided on:

Frame:


I decided on the Hobbyking S500 Glass Frame. It is a good size and has a good number of mounting options for accessories. The arms have a carbon rod in the center making them very strong. At this price I would recommend ordering two frames for spare parts. On my first day flying I broke one of the arms (this was my fault and not the fault of the frame).

Motors:


The selection of motors requires some calculations to select the amount of thrust needed to fly. Total thrust required equals the total weight times two. You divide this by four to calculate the thrust per motor.

                                                 Total weight of the quad x 2
                                                 ----------------------------------     = Thrust Per motor
                                                                       4

I bought the Turnigy D2830-11 1000kV motor. These have worked very well and provide plenty of lift. 

Speed Controllers:


Initially I was planning to purchase the Turnigy 30 Amp ESC's but they were out of stock when I placed my order. I ended up purchasing the Afro 30 Amp ESC's. I am glad that I did because these come flashed with the SimonK firmware. This firmware has a much higher refresh rate, around 400 Mhz, than other speed controllers.  This also have bullet connectors already soldered on which is handy.

Flight Controller:


There are tons of good options when it comes to a flight controller. The kk2.1.5 is a good beginner board. It has an LCD screen on board and can be programmed on the fly without a laptop. It is also inexpensive.  There are also a number of open source boards including the cc3d and the APM powered boards. The APM powered board is more expensive but is autonomous with GPS and a barometer. I am starting with the kk board and will plan to upgrade down the road.

Radio:


I bought the OrangeRX 6 channel radio. It is compatible with spektrum dsm2 receiver modules and is working well. The Turnigy 9x radio is also a good option and has transmitter modules that can be exchanged for compatibility with different receivers. You will also need a receiver. I ordered this one.

Props: 

The props are very important for the proper configuration of the quad. I chose simple plastic props but will probably buy carbon props in the future. I would recommend buying a few sets especially when starting out as they are the first to break in a rough landing.

Here is what I bought:
Right hand rotation
Left hand rotation

They are fairly inexpensive but break easily. You will need a simple prop balancer to ensure that they are weighted correctly. I have had to balance them by sanding the underside of the heavier blade.

Here is a useful graphic used to tell which prop is right or left:


Miscellaneous Items:

Power breakout cable: For power distribution you have the option of soldering your own or purchasing a premade set. I purchased this and it made assembly very easy. Make sure the connectors match your battery and ESC's.

Battery straps: These hold the battery to the frame. Order a few of these.

Battery alarm: With LiPo batteries it is important to not let the individual cell voltage drop below 3.3v.  If the voltage drops below this point the battery could be permanently damaged and no longer hold a charge. This alarm connects directly to the balancing plug on the battery. When the battery is depleted it flashes red for the specific cell that is depleted and emits a loud alarm.

Battery:
The battery I chose was the Zippy 4000 mah batter. It is a 3 cell 25c battery. I have been getting around 15 minutes of flight time with this battery. One recommendation: if you are in the US order from a US warehouse. Ordering from overseas can take a long time as LiPO's cannot be shipped by plane. They can also get caught up in customs and take a long time to arrive.

Servo leads: Here. These are used to connect the receiver to the flight controller.

Battery charger: I already had a nice LiPO charger but if you don't you will need a charger and battery balancer.


Building the Quad:

After a few weeks I received all of my items. No problems ordering from China and everything came as expected.


The first step is to install the motors on the arms. I used blue loctite on all of the bolts to ensure that they didn't loosen during flight. I had to use longer screws because of the thickness of the arms.


Here are all of the arms fully assembled.


After installing the motors I built the frame. I put loctite everywhere just to be sure. 


I should have taken more pictures of the wiring but really the process wasn't too exciting. Everything went together easily with the wiring harness. I zip tied the ESC's to the bottom of the arms to protect them from damage. 

Routing the wires to the flight controller was a bit of a challenge but everything eventually fit. In this picture the flight controller is mounted in the box it came in just to check the fit. This frame has a really nice mount on the bottom and keeps the battery low in the center of gravity.


I puzzled for a while on how to mount the flight controller. There is lots of discussion on how to vibration damp the board. I bought a pack of ear plugs from the hardware store and cut the tips off. I then hot glued them to the bottom of a small piece of wood and zip tied this to the quad frame. The zip ties keep it pretty tight but it does have some flex because of all of the little ear plugs. So far I have had pretty good results with this setup. 

This frame does not have the mounting holes to mount this flight controller directly. I am not sure if the board has odd mounting holes or the frame doesn't support the FC configuration. I may look for other options to mount the flight controller depending on the flight characteristics. 


So, after all of this I figured out that I had forgotten to order the receiver for my radio. I had to place another order that took three weeks to arrive. But it all worked out and I am happy with the way it flies.

Stay tuned for post number 3. I will take some video of the flight and provide some tuning information for the kk board.


Wednesday, March 18, 2015

Building things is fun: Quadcopter build Part 1


Building things is fun. And building things that do something is even more fun. Building something that is super dangerous is potentially triple the fun.

The next few series of posts will chronicle my build of a quadcopter. I am completely new to the world of flying remote control things and this has definitely been a learning experience. My hope would be to get all of the pertinent information needed to build a quadcopter in one place as far as the research and planning necessary for the build.

Some say that a multicopter is like a flying lawnmower and I would say that is pretty accurate. Flying inside is not a good idea. Just ask my coffee table and the many propellers that I have hacked up.

The normal Jedi Gardener post is of course filled with very pertinent information about vegetables, star wars and physics. This post is a slight departure from that but strangely still applicable to gardening. Many large scale farmers are using multi-copters to examine irrigation patterns, soil variations and pest infestations. This is also a much needed tool for many suburban farmers like myself. After I learn to fly that is.

The first step in getting into multicopters is the decision on whether to build your own or buy a pre-built copter. I was initially planning to buy a ready to fly quad but decided to build based on several factors:

  1. I really like the DJI Phantom series of quads but they have demonstrated that they can release a firmware revision that will make your purchase non-functional. With the recent landing of a Phantom on the white house lawn DJI relased a firmware update that prevents their Phantom series of quadcopters from flying in certain areas: DC localities, near airports etc. I don't want to be at the mercy of a corporate decision on where I can fly.
  2. With a pre-built copter I was also concerned about what happens when it breaks. In my first two weeks I have already broken it once and I am sure that I will break it again. Without building the copter I would have less of an understanding of how to fix and tune it when needed.
  3. The array of options you have with a build is unlimited and therefore you can build a machine that can suit your needs. 

After you have decided to build your own copter, the next step, and arguably the most fun, is research. There are so many parts to choose from and options, as far as wiring and flight controllers, that a lot of searching around is necessary. Luckily lots of people have built quads and written about their builds.

Here are some resources I used:


My goal is to have a quadcopter that I can easily repair. I would also like to expand later with a gimbal/camera and more advanced flight controllers.

So thats the end of Part 1. Stay tuned for Part 2 where I will detail the parts list.


Sunday, April 27, 2014

Return of the Jedi (Gardener)

The Empire had a lot of good qualities with one of them being persistence. They built a pretty amazing space station:  the Death Star was big, could shoot down planets and had a trash compactor with a monster inside.

But, it had one fatal flaw. It had a single exhaust port that could destroy the whole thing. I am sure the engineer that designed that portion did not get extraordinary contributor on his review that year.

In spite of that initial setback the empire persevered and built another one.  That second one was also destroyed but at least they learned from their initial design flaw.

Last year my garden experienced a few set backs as well.

There was a strange bug that attacked many of the plants that has been the scourge of my garden. I vow to find out what type of bug this was and fight it organically somehow. I also expanded too quickly and was overwhelmed with the number of weeds and bugs.

I will let the pictures speak for themselves...

These are my formerly wonderful cucumbers:


Here is an odd looking watermelon:


Kramer used to love hiding in the cucumber trellis. But alas:

'

The great thing about gardening is each year is started with a clean slate. The soil is fresh and weed free and last years issues seem like anomalies. 

So, this year I have moved my garden to a different location in the yard and will be focusing on two raised beds. I am going to make the most of these small spaces and try to grow something in every inch of space. I am also going to make sure the soil is really good quality.

Here is a picture of my new location:


So, if anyone has any tips to keep out the vicious cucumber bug or improve soil quality I would like to see your comments.


Sunday, June 30, 2013

The wonderful world of compost

Every farmer, irregardless of the size of the farm, must do some sort of composting. I am sure even Luke Skywalkers uncle did some sort of composting for his moisture farm. I also imagine the garbage compactor in the Death Star was really just a big compost bin and I am pretty sure that there is a garrison of storm troopers assigned to weed and hoe on the gardening level.

Composting is a great way to recycle old items into garden feed. Over time kitchen scraps and other things will decompose and look a lot like dirt. Its pretty amazing.

Here is my original compost pile

Really it's just a big pile of dirt where I would dump my grass clippings. I recently got a really great pitch fork and when I tried to turn the dirt I found that the tree had grown lots of roots into the pile making it pretty useless. Oh well.

It turns out there is a lot of science that takes place in a compost pile. It takes the right amount of wet and dry ingredients plus heat and air flow to break down the waste. 

There are three primary phases in the composting process.

  1. The active or thermophilic phase - In this phase the material is broken down most rapidly. Aerobic bacteria alter the chemical makeup causing the pile to heat up. This phase can take from 1-4 months depending on conditions.
  2. The curing or mesophilic phase - After the initial phase the temperatures stabilize and lower. Bacteria that prefer a lower temperature take over the decomposition process and turning of the pile is not needed. At this point the material is not recognizable as its original form. Curing usually takes less than 3 months.
  3. The maturing phase - In this phase the pile transitions to materials that are less prone to microbial breakdown. If you have a male compost pile maturation may take longer but will eventually occur.
I am trying two things for my compost piles. 

For my first I took a plastic bin and drilled holes for aeration and drainage.

This has worked really well as I can role the tub around the yard to mix things up. It also heats in the sun to speed up the process of decomposition.

Here is me throwing a worm into the bin:

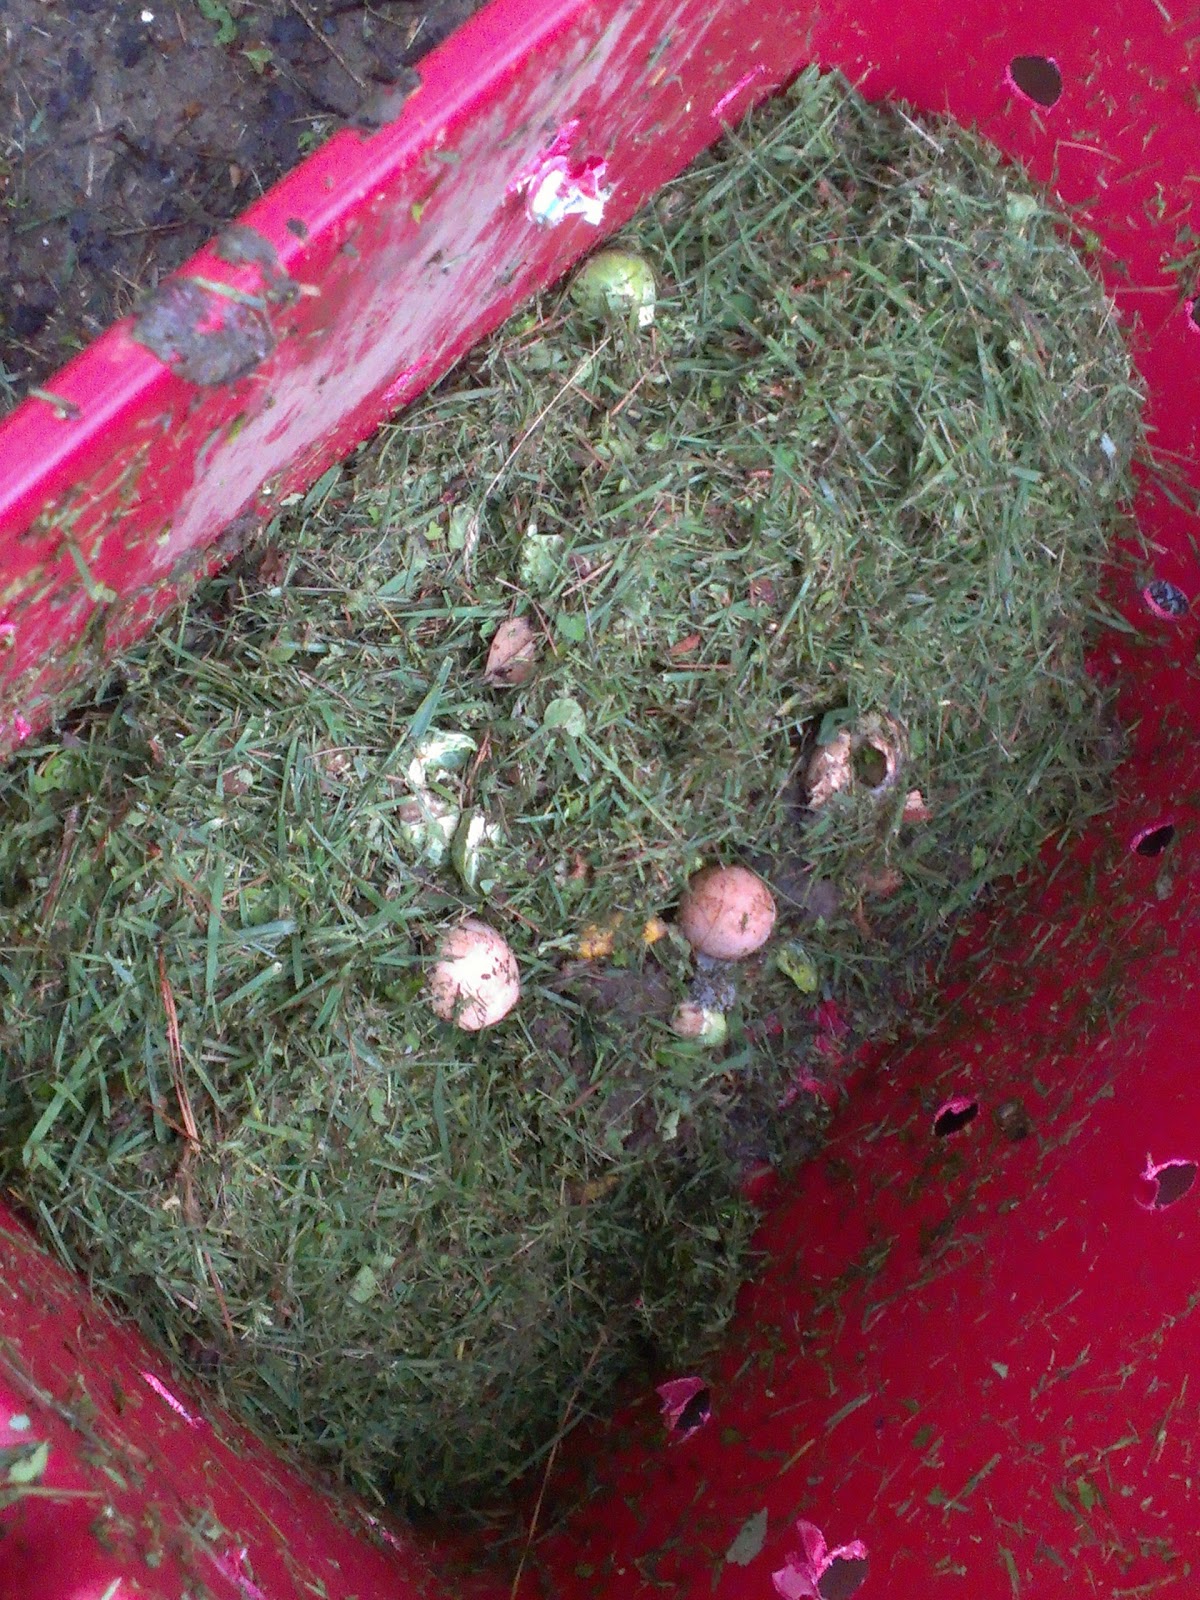
Worms and bugs help with the process of breaking down matter. My compost started out like this:


Really just a pile of grass clippings and kitchen waste. After a month or two it looks like this:


You can still make out the egg shells but it now looks like dirt. This is good stuff and will be good for the plants.

I am also trying out another bin. Old paletts are readily available so I took four and joined them:
I am going to start dumping my clippings here and adding leaves and kitchen waste to a proper ratio of wets items and dry items. I have read that a proper ratio is 5 parts dry to 1-2 parts wet.

The pallet should work well as it will provide excellent ventilation and I can dump things in easily. Here is the inside:

I will keep you, my avid readers, updated on the progress of these exciting projects.

Here are some general pictures of the garden this week:

A tall sunflower:


A pallet to keep my melons off of the ground:
They are growing like crazy.
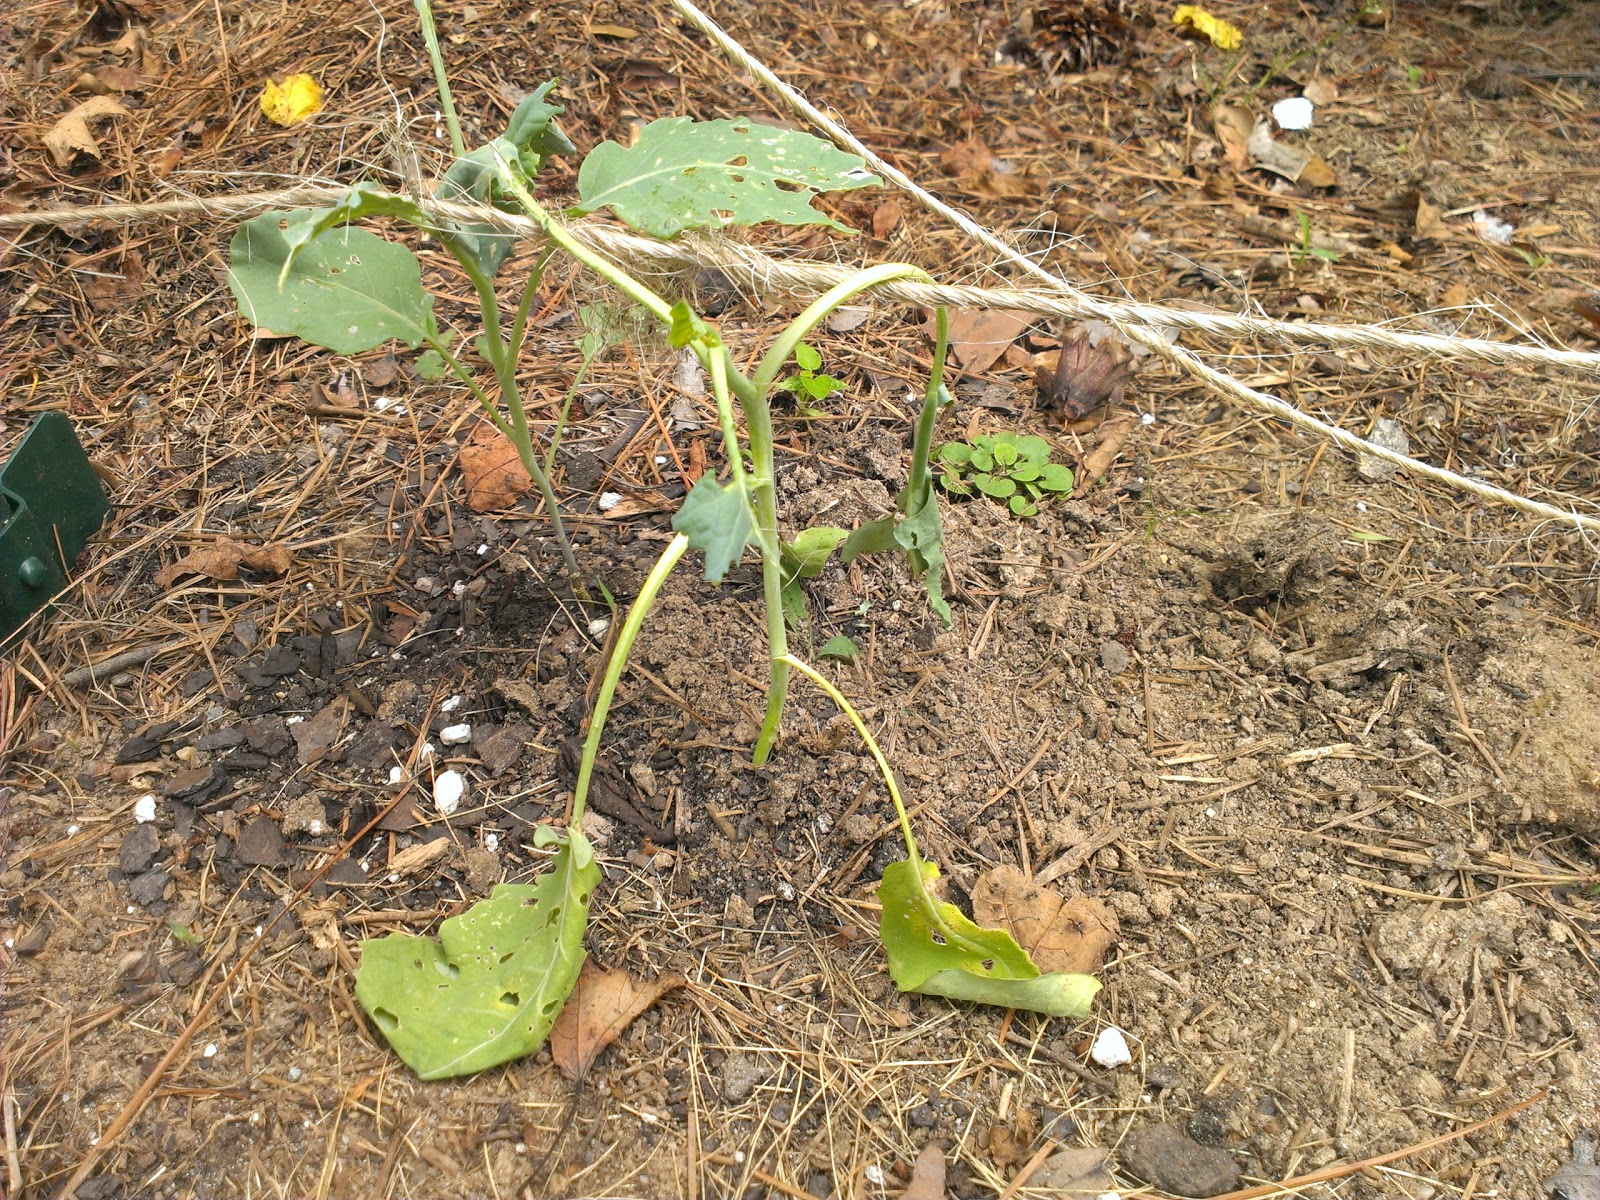
My son, Edison, pulled this broccoli yesterday while he was helping me weed. I stuck it back in but it doesn't look good:

Some other random pictures:


This tomato doesn't look good. I don't know why.


Mr Bean:


Happy Weeding

Sunday, June 9, 2013

Friends of the Jedi Gardener

One thing that I love about gardening is all of the friends that I have met. The many comments on this blog are great and it also seems that gardeners are very helpful and willing to share their experiences.

I have had some really great advice about many things but recently I have received advice about how to control garden weeds.

I used to not mind weeds so much. They add nice greenery to any garden and provide shelter for numerous bugs.

Weeds have always been a problem for me because I just figured I didn't have the time to keep weeding day in and day out and would have to wait to retire before I had a weed free garden. Every time I weed the pesky weeds keep coming back even after using the amazing stirrup hoe.

A good gardening friend said that she adds her grass clippings to her garden. This does two things. First, it acts as a mulch helping the soil not to dry out so quickly and second, as it decomposes, it releases nutrients into the soil. I am pretty sure this will be solid gold for the garden.

Here is a picture with a few layers of clippings:

Here are the clippings after they sit for a few weeks:


It looks much better after weeding and adding the clippings. I am hoping that this will prevent the weeds from coming back.

I also have a few neighbors who are very helpful with the garden:

Those are Skinks.

I also have a number of worms that I will be adding to my compost bin:


I will be writing about the bin soon. Its very exciting.

On a carrot note I have a carrot that has grown rather large. Here is a picture:
Who knew that carrots eventually grew flowers? I didn't.

I am concerned about pulling this Carrot as I don't want it to turn out like the last short carrot and I am considering leaving this as Schrodinger's Carrot! It currently exists as both a short and log carrot. This is a great vegetable paradox joke (Schrodinger's Cat). Ha ha.

Here are some random pictures of the garden in its current state. I think I will be picking some items soon:

These are Leak flowers. Pretty cool.

These are a few tomatoes:

These are squashes and cucumbers:

Here are some beans:

Below is a cucumber almost ready to pickle:


Sunday, June 2, 2013

Vegetable garden the prequel

Here is a picture of my garden at the end of last season:

Its a mess as you can see. The cucumber trellis on the left has no cucumbers, the little string trellis I made provided a house for spiders and nothing else and the rest of the plants are a nightmare of weeds and droopy leaves. Disgusting.

I love to water and I am pretty sure that the plants like it too. Unfortunately last year I think that I over watered and caused the plants to rot away.

Well this year I am turning things around. My goals this year were to really plan my garden out, plant from seed if possible and organize my garden into rows. I also expanded the garden. Here is how it looked after the expansion before planting my plants.


I used the plastic to try and heat up the weeds. I think it would have worked better in the hot summer but it did an ok job.

Here is a picture of it now after planting for a few  months.


I have had to deviate from some of the well defined rows because of the lack of sun. I have a large tree to the left of my garden that has now sprung to life and is now blocking the sun for part of the day. Shady vegetables like lettuce are being moved over to the right shadier side of the garden. My cucumber trellis is also quite large and my rows have become a bit disorganized because of that. I will plan better next year.